Crie Uma Animação de Recorte no Filmora como os Reels
As animações de recorte são uma forma fantástica para cativar os espetadores instantaneamente através de fotos e ilustrações para contar uma história única de forma cativante. Além disso, oferece mais profundidade às ilusstrações para ajudar o espetador a compreender melhor a ideia principal da animação. Com o Filmora, pode criar animações de recorte para contar sua história de forma única.
Ferramenta
Elementos
Transcrição
Para melhorar seu vídeo, experimente aplicar fotos com os mesmos filtros. Destaque os objetos nas fotos para obtermos as figuras e contornas de cada objeto nitidamente.
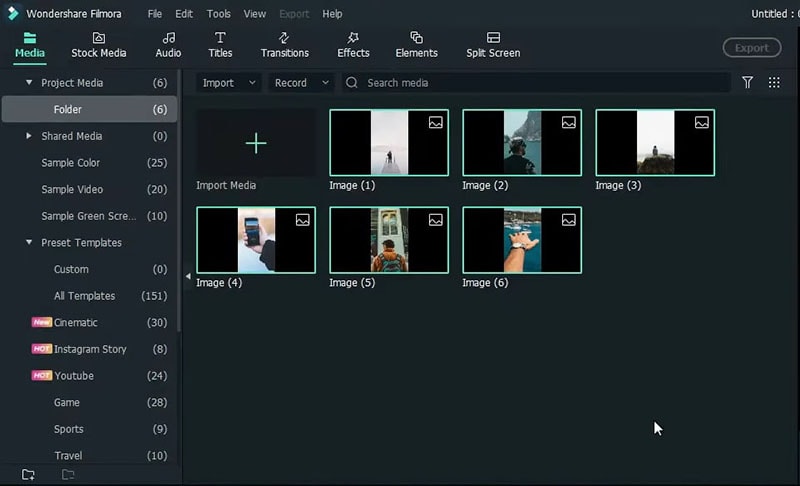
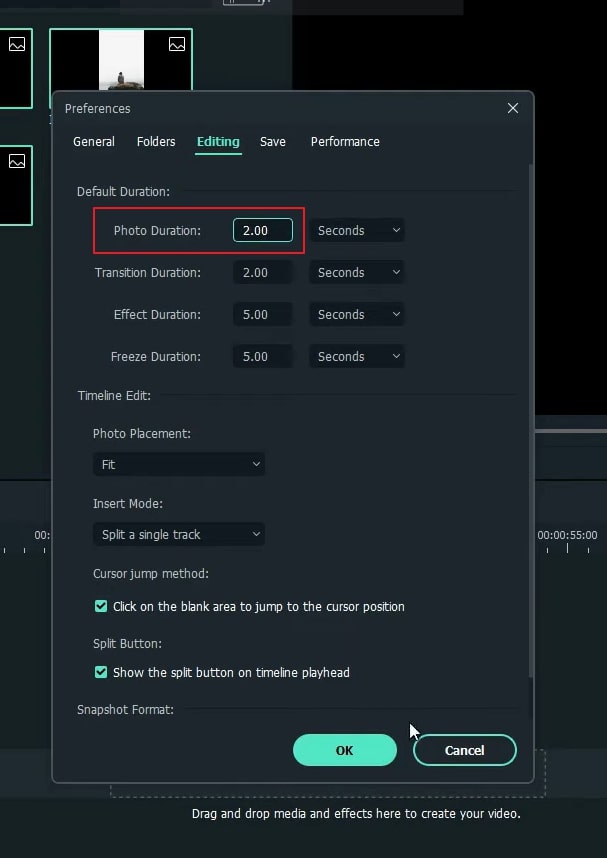
Primeiro, importe todas as fotos para a Mídia. Depois acesse o arquivo na barra de topo. Abra o painel de Preferências para acessar a seção de Edição. Aqui vamos alterar a duração da foto para dois segundos. Clique em OK.
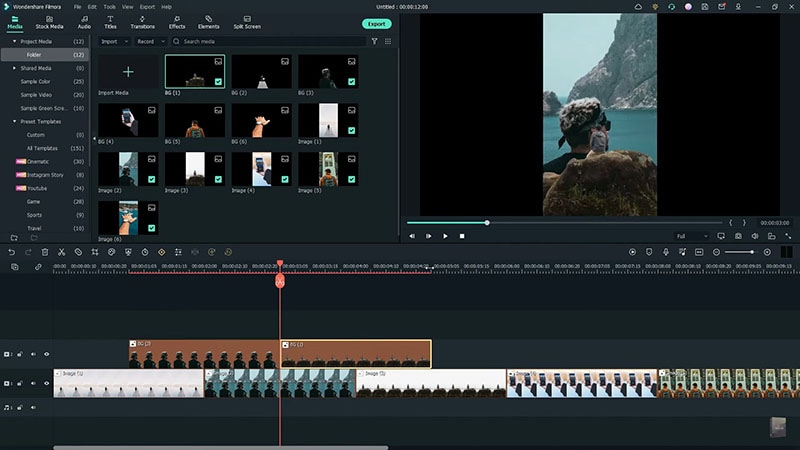
De volta à interface principal. Agora vamos arrastar todas as fotos para a linha de tempo. Como pode ver, todas as fotos têm dois segundos. Agora precisamos de criar um recorte de papel em todas as fotos.
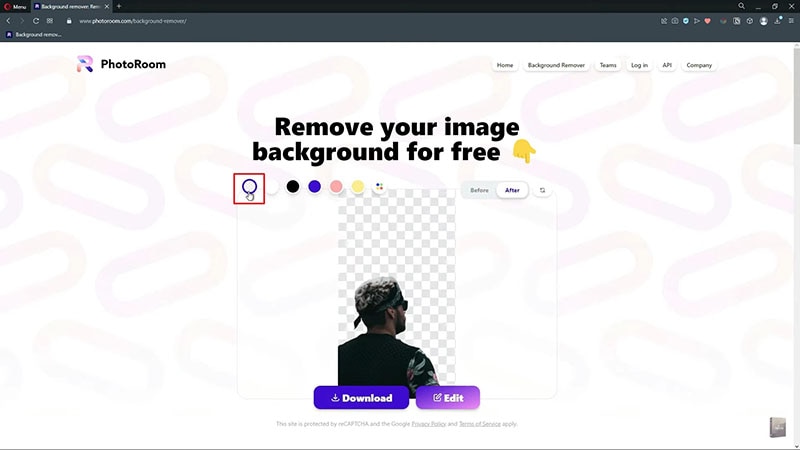
Acesse o site do PhotoRoom. Neste site pode remover o fundo da sua foto gratuitamente. Carregue a foto, selecione o ícone Sem Fundo no canto superior esquerdo da caixa. Quando terminar, clique no botão Baixar. Faça o mesmo para todas as suas fotos e salve a imagem do recorte de papel num arquivo.
Após terminar de remover o fundo, volte ao Filmora. Importe o arquivo do recorte de papel. Agora amplie a linha de tempo para visualizar todos os clipes nitidamente. Na posição do primeiro segundo, arraste a imagem do recorte de papel da segunda imagem para a linha de tempo.
De seguida, vá para o terceiro segundo e arraste o recorte da terceira foto para a linha de tempo.
How to Make Cut Out Animation in Filmora like Reels
What you need to prepare:
- A computer (Windows or macOS)
- Your video materials.
- Filmora video editor
Wondershare Filmora is free software that can be easily downloaded on your system. Visit its official website and click on the “Free Download” button to download the Filmora installer.
To make your cut-out animation video look captivating, try to capture your photos in the same filter and appropriately. Now open the interface of Filmora and import all the photos in the Media section.
Afterward, go to the File tab and choose Preferences from the drop menu. From the Preferences window, go to the Editing section and change the duration of your photos to 2 seconds. Head to the main interface and drag all the photos to the timeline.
To create a paper cut for your photos, go to the online website of PhotoRoom. On this platform, you can efficiently remove backgrounds from your photos free of cost. Upload the photo on this tool and choose the No Background option on the extreme left side of the panel just above the added photo. Once the background is removed, download the photo. Repeat the same process for all the photos.
Now head back to Filmora and import all the paper-cut files on this tool. Zoom in on the timeline so that you can see all the clips clearly. Now go to the 1st-second position on the timeline and drag the second paper-cut photo on it. Afterward, head to 3rd-second position on the timeline and drag the paper cut of your third photo. Repeat the same process with all your paper-cut photos.
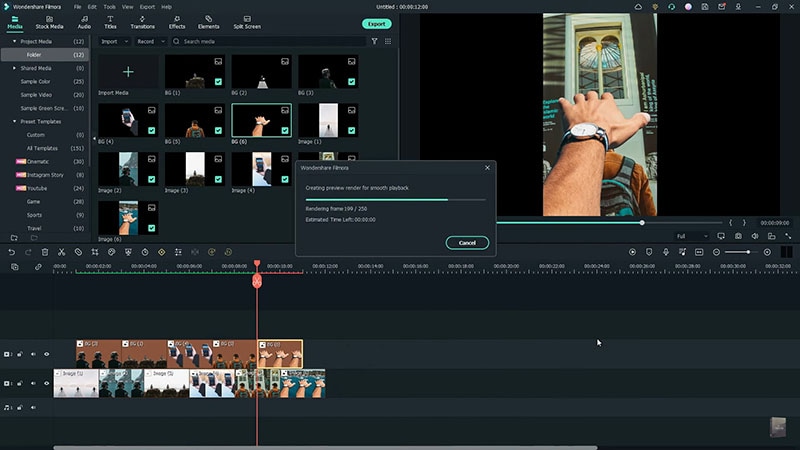
Once you have created your timeline by adjusting all the paper-cut photos appropriately, render the video. Afterward, you can see your cut-out animation in the preview window.
What you've learned:
- You can change any background in video with green screen.
- Use transitions in video to make it more smoothly.
- Filmora comes with many types of background, including social, busiess, sports and more.

Diga o que pensa